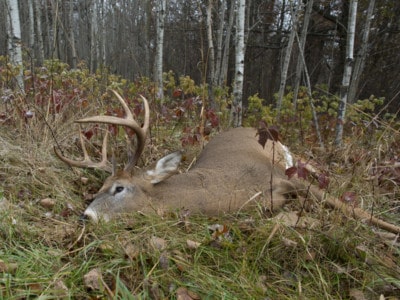
So it seems you’re excited for your first hunt. You can’t wait to stake it out in that brisk environment that the wild provides for you, to hunt down your prey. After following some of our deer hunting tips, and your fortunate enough to take down a buck, there are a few questions to ask. Is all your hunting equipment prepared? Good. Do you have at least oneexperienced hunter with you? Good. Do you know how to skin, say, a deer? No! Well no worries we are here to take you through the process step by step.
Now no need to worry, skinning a deer may not be as simple as filleting a fish, but it shouldn’t be too complicated. Hunting is multifaceted and we are here to show you how to complete this important process.
How to skin a deer:
So you thought you could do this with just a knife! No way, we are going to have to gather up some things that will help us out with this process.
Here is what you need:
-Gutting Knife (always a part of your hunting gear list)
-Sharpening Device
-String or Zap Straps
-Gloves
-Bucket
-Zip Lock bags
-Game bags
-Towel
You need a knife for skinning, of course, as well as your sharpener to keep that knife good to go. Strings are needed for hanging the deer. Gloves are for you to wear (if you choose to!) The bucket is for excess guys to be spilled. The zip lock bags are for you to store the smaller organs, (if you so choose!) where the Game bags are for meat storage.
Now throw those gloves on and let’s get to work!
Gutting the deer
Step #1 Lay the animal on its back. Cut and free the anal track from the hide by cutting around the anus. Free the membrane and the hide that is attached to the pelvic bone. When it is free, pull out the anal track and tie a string around it to prevent from spilling the contents.
Step #2 Next, cut up from genitals to the sternum. Don’t cut too deep, because if you do, you could be cutting into the intestines, which would spill the contents, which could get messy!
Step #3 After done this, flip on its side, downhill and let the guts fall out. Now carefully cut the fat that holds the intestine to the spine. Remember now, we need to cut carefully because puncturing the nearby bladder could make for another messing display due to its urine content!
Step #4 Now when finished separating the intestine, reach deep into the chest cavity of the deer and feel for the esophagus. Make a clean cut of the esophagus and in turn pull out the esophagus, heart and lungs that are attached.
Now your deer is ready to be skinned!
Skinning the deer
Step #5 If you’re in the woods, lash together a meat pole. Hang the deer up vertically by its head (head up, toe down).
Step #6 Make an initial cut around the neck. Cut up the belly all the way, if it’s not already. For the legs make a single vertical cut down each of the legs.
Step #7 Now the skin is ready for separation from the sinew (the white fur). Separate all the white fur from the outside skin. Remember to keep the hair away from the meat when you are in the skinning process, because no one likes hair in his or her meat, right? Continue carefully until all the outside skin is separated from the fat and white sinew.
Skinning a deer is quite simple as long as you take your time and are careful. After you’re done separating the skin from the all the fat and white furring undercoating, you’ve successfully skinned your deer.
It’s always good to find an experienced deer skinner to help you along the way, but of course, anything can be learned on your own if you’re smart enough.
So, do you feel ready now? Are you excited to skin your first deer? I hope so, and hopefully it won’t be your last… Be sure to tell us how it went or if you have more tips for a first time deer skinning!

Leave a Reply